


Blog
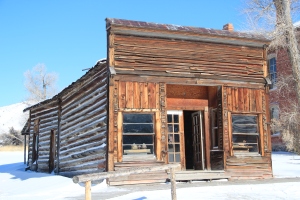
7A Blog: BANNACK-Portraits

Natural Lighting

LED lighting

Gold tinted lighting

Natural Lighting

auxiliary lighting
6B Blog: Bannack-Creative
Conceptional
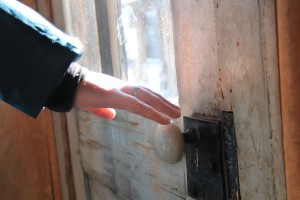
I used a staged scene where a person is reaching for the door. I used masking layers to create this and to darken the places that were too light and also sharpened it.
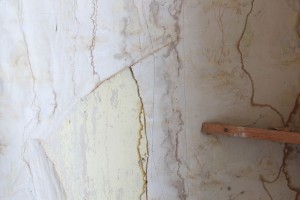
Texture

I used the lightest images I had of this carved in and cut up the wall to try to bring out all the scratches and mar marks. I used overlay and masking layers in this photo.
Commercial

I used a classroom in the late afternoon natural light to stage a scene to promote smartfood popcorn. I thought the use of the classroom and the name of the popcorn brand worked well together and used lightroom to darken the image when it was too light.
6A Bannack Series
For my Bannack series, I had found in one of the abandoned houses with ripped up wallpaper in several of the front rooms. I liked the texture of the wallpaper and the natural lighting coming in from the window so I decided to film this as my series.

I wanted to show the ripped wallpaper next to the exposed wall. I brightened the image and used levels to make it pop more.

This image is still too dark for my liking, but I went into camera raw and tried to lighten it ti show the texture more.
Originally the right side was much darker, covered in shadows. I lightened it by using exposure so you’d be able to see the actual side and it wasn’t such a shadow on it.

I shot this by using a steep angle up the wall to capture this angle from the top of the wall. I sharpened the image and lightened it a bit so it would look brighter.

This entire photo was originally much darker, but in camera raw, I lightened it so that more of the ripped wallpaper could be seen. I also sharpened it so that some of the texture would show more.
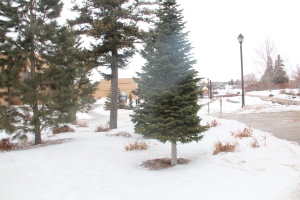
5A Landscape: Perspective Of 9
Photo Process:
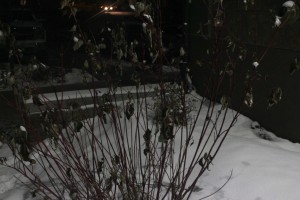
Due to my class load and work schedule, I only had time to go outside at night and find a nature landscape. I liked this challenge because I’ve ever only shot photos in the middle of the day where I had a lot of natural light so I wanted to see what I could take when going out after dark. I found a little place right outside of my apartment building to take photos and my main object in every picture is a little bush I found in a good spot of lighting.

In this shot in a relatively good lighting but did have to lighten the exposure later in photoshop

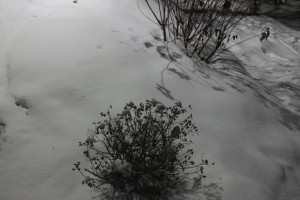
I wanted a wider shot for this angle so I stepped back and allowed the background to show.
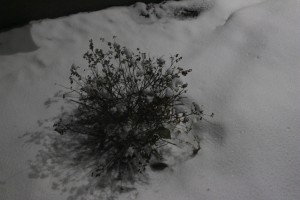
I stepped on a pile of snow to get this top shot of my object.

I wanted to show more depth in my photo, but wasn’t able to stoop down low enough.
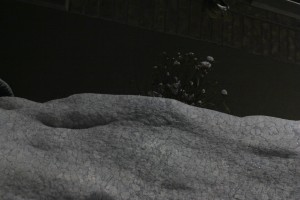
This was the image I had blended. I blended this image with a gravel texture into the snow.


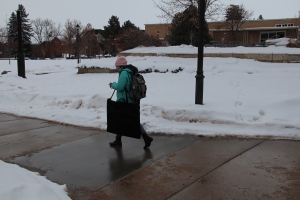
This was one of my wider shots that I wanted to show more of shallow depth.
Depth – Deep & Shallow
Depth


These deep depth photos were shot inside an apartment building. These took more time to shoot because I kept messing up and taking photos that did not turn out how I want them. It was slightly more difficult for me to shoot deep depth than it took for shallow, but overall I am satisfied with how it came out.


The process from shooting these two images was figuring out which of my surrounding would work as a good photo. It took me a while to get my setting right, but with time I got it to the right ones. These shallow depth photos were shot indoors.
3A Motion
Two examples of frozen motion

Two examples of blurred motion.

2A Blog: SME (Self-Motivated Education)
This is
The Journey Begins
Thanks for joining me!
Good company in a journey makes the way seem shorter. — Izaak Walton

